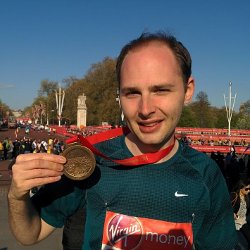
Happy New Year! It seems like months ago now – but I just wanted to once again say an absolutely MASSIVE thank you for sponsoring me to run the London Marathon. In case you hadn’t realised I made it round in one piece! It was an amazing experience – there were people lining the entire course and the crowd was so enthusiastic. All the pain was definitely worth it!
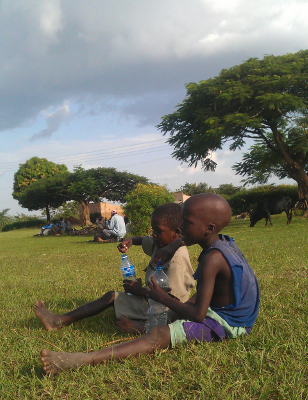
What I really wanted to tell you about was the trip to Uganda. This year we were in a village called Kimaruli. During our time there we were able to visit a nursery (Nangalwe Nursery), three primary schools (St Michael Primary School, Nalondo Primary School, Ikaali Primary School) and a secondary school (Kimaruli High School). Yet again we were overwhelmed by the extreme poverty in the area: children arriving to school with worn out clothes; almost no teaching materials; no signs of water or food at school; extremely dilapidated buildings. Basically the worst possible conditions to learn in.
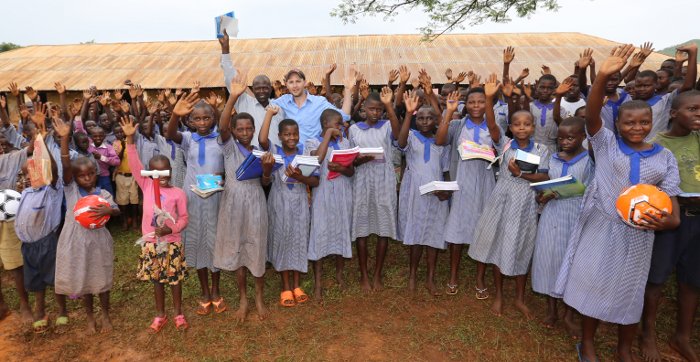
On our arrival to the schools many of the children came charging out of the classrooms and surrounded us! One classroom was jam-packed with about 100 little children who were so excited to see us that we had to cover our ears because it was so loud!
In total £1903.75 was raised! Thank you! Eighty percent of the money was split evenly between the five schools. The money allowed us to buy teacher’s curriculum books, pupil text books, stationery, sports equipment and even a printer for the secondary school. The remaining 20% went to Aid International to support their work with children in Guatemala and Zambia (they provided me with the marathon place).
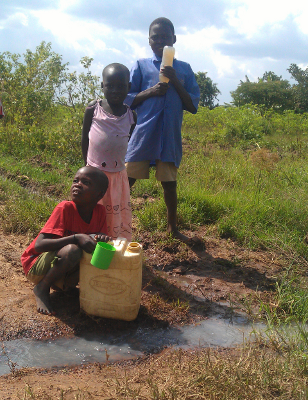
We also visited the sites planned for the wells – there will be six in total. Our Ugandan NGO paper work is now complete and just before Christmas our first well was drilled in the village of Lwanjusi!
Rather unusually for the region Kimaruli High School had a class room containing 10 old computers which mostly worked. They also had an internet connection – although it had never been used because the network switch was broken. We were able to bring another one down from Kampala and get them up and running!
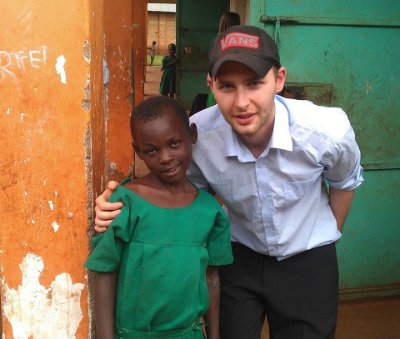
Your support has made an overwhelming difference to the lives of the children at those schools. The teachers are now better equipped to teach the children and the children have the resources to learn. Without you it wouldn’t have been possible to touch those children! So thank you! You made a difference!
No Comments on Thank you!